Beautiful Plants For Your Interior
10 Tips for Growing Thyme in Pots or Containers
Growing thyme in pots or containers is a fantastic way to enjoy this aromatic and flavorful herb, even if you have limited garden space. Thyme is a versatile herb that adds a delightful taste and fragrance to various dishes. Whether you’re a beginner or an experienced gardener, these 10 tips will help you successfully cultivate thyme in pots or containers and enjoy its benefits year-round.
Tips for Growing Thyme in Pots or Containers
1. Selecting the Right Container:
Choosing the right container is crucial for the successful growth of thyme. Opt for a pot or container that is at least 6-8 inches deep and has adequate drainage holes to prevent waterlogging. Terracotta or clay pots are excellent choices as they allow the soil to breathe and excess moisture to evaporate.
2. Soil Requirements:
Thyme thrives in well-draining soil. Prepare a potting mix by combining equal parts of compost, perlite, and peat moss. This mixture provides the ideal conditions for thyme to flourish, ensuring that the roots receive enough oxygen.
3. Sunlight Needs:
Thyme loves the sun! Place your pots or containers in an area that receives at least 6-8 hours of direct sunlight every day. If you have limited access to sunlight, consider using artificial grow lights to supplement the natural light.
4. Watering Routine:
While thyme requires regular watering, it’s important not to overwater. Allow the top inch of soil to dry out between watering sessions. Insert your finger into the soil to check its moisture level. If it feels dry, it’s time to water. Remember, thyme plants are susceptible to root rot caused by waterlogging.
5. Feeding the Plants:
Thyme is a low-maintenance herb that doesn’t require excessive feeding. Apply a balanced liquid fertilizer once a month during the growing season to promote healthy growth. Avoid over-fertilization, as it can lead to an overgrowth of foliage with a diminished flavor.
6. Pruning and Harvesting:
Regular pruning encourages bushier growth and prevents the plant from becoming leggy. Trim off the top one-third of the stems to promote branching. Harvest the leaves as needed, but be sure not to remove more than one-third of the plant at a time. Thyme leaves are best when harvested before the plant flowers.
7. Protecting from Pests:
Thyme is generally resistant to pests and diseases, but it can still fall victim to spider mites and aphids. Regularly inspect your plants and use organic insecticides or natural remedies like neem oil to combat any infestations. Keeping the growing area clean and free of debris also helps prevent pest attacks.
8. Overwintering Thyme:
Thyme is a perennial herb, which means it can survive winter in milder climates. However, if you live in an area with harsh winters, consider bringing your pots indoors or covering them with frost cloth to protect the plants from freezing temperatures. Place them near a sunny window to ensure they receive enough light during the winter months.
9. Companion Planting:
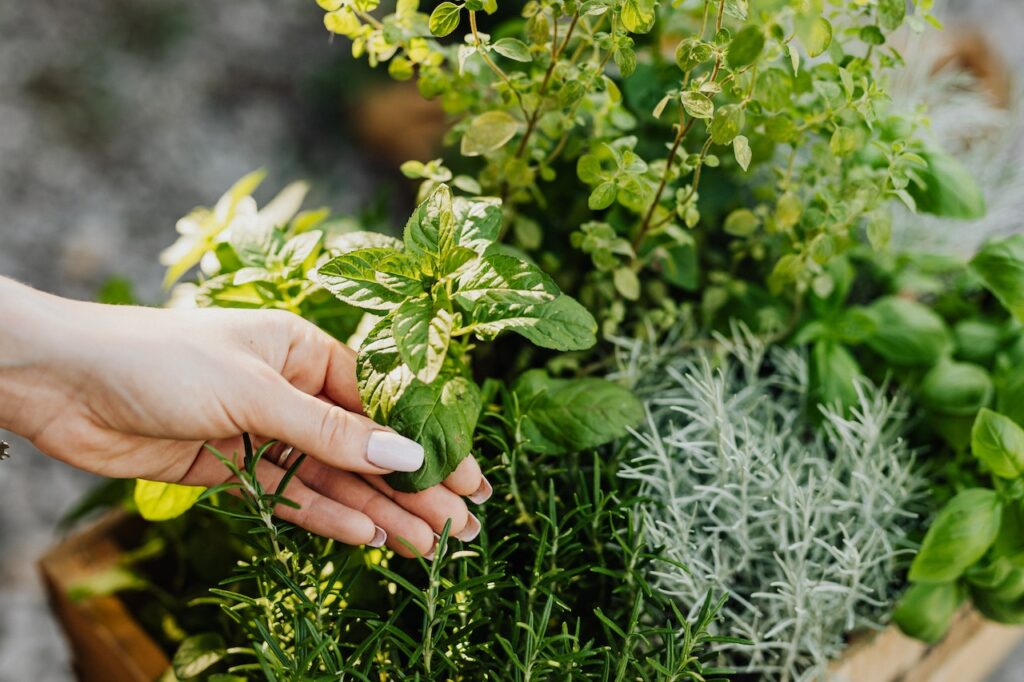
Thyme grows well with many other herbs and vegetables. Consider planting thyme alongside rosemary, sage, or basil, as these plants share similar care requirements. Additionally, thyme can repel certain pests, making it an excellent companion for plants prone to pest infestations.
10. Propagating Thyme:
Expanding your thyme garden is easy through propagation. Take stem cuttings from established plants in spring or early summer. Dip the cut ends in rooting hormone and plant them in a well-draining potting mix. Keep the soil moist and provide bottom heat if possible to encourage root development.
By following these tips, you can ensure successful growth and enjoy the culinary and medicinal benefits of thyme throughout the year. Experiment with different thyme varieties and explore its delightful flavors in your favorite recipes. Meanwhile, you can check more thyme-growing techniques mentioned below.
Growing Thyme From Seed in Pots
1. Selecting the seeds:
Choose a variety of thyme seeds that are suitable for container gardening. Common varieties include English thyme, French thyme, or lemon thyme. You can find these seeds at a local nursery or purchase them online.
2. Choosing the pots:
Select small to medium-sized pots with drainage holes at the bottom. Thyme doesn’t require deep pots, so a pot with a depth of 6 to 8 inches should be sufficient. Make sure the pots are clean and sterilized before use.
3. Preparing the potting mix:
Thyme prefers well-draining soil. Prepare a potting mix by combining equal parts of compost, perlite or vermiculite, and regular potting soil. This mix will provide good drainage while retaining some moisture.
4. Sowing the seeds:
Fill the pots with the potting mix and moisten it slightly. Sprinkle the thyme seeds evenly on the surface, ensuring they are not overcrowded. Lightly press the seeds into the soil, but avoid burying them too deep.
5. Providing the right conditions:
Thyme seeds require warmth and moisture to germinate. Place the pots in a warm location, such as a sunny windowsill or a greenhouse. Cover the pots with plastic wrap or a clear plastic dome to create a greenhouse effect and retain moisture.
6. Germination and care:
Thyme seeds usually take around 10 to 14 days to germinate. During this time, ensure the soil remains moist but not waterlogged. Once the seedlings emerge, remove the plastic cover and place the pots in a sunny location. Thyme requires at least 6 to 8 hours of direct sunlight each day.
7. Watering and maintenance:
Thyme plants prefer slightly dry conditions, so avoid overwatering. Allow the soil to dry out slightly between waterings. When you do water, ensure it reaches the root zone. Regularly check the moisture level by inserting your finger into the soil.
8. Thinning and transplanting:
When the thyme seedlings are a few inches tall and have developed a few sets of true leaves, you can thin them out if they are overcrowded. Leave the strongest and healthiest seedlings, spacing them about 6 to 8 inches apart. Transplant any thinned seedlings into separate pots.
9. Fertilizing:
Thyme is a low-maintenance herb and doesn’t require much fertilization. You can apply a balanced, slow-release fertilizer once or twice during the growing season to provide the necessary nutrients.
10. Harvesting:
Thyme can be harvested once the plant has reached a decent size. Avoid harvesting more than one-third of the plant at a time, as it needs foliage to continue growing. Cut the stems above a set of leaves or nodes to encourage bushier growth.
How to Grow Thyme from Cuttings
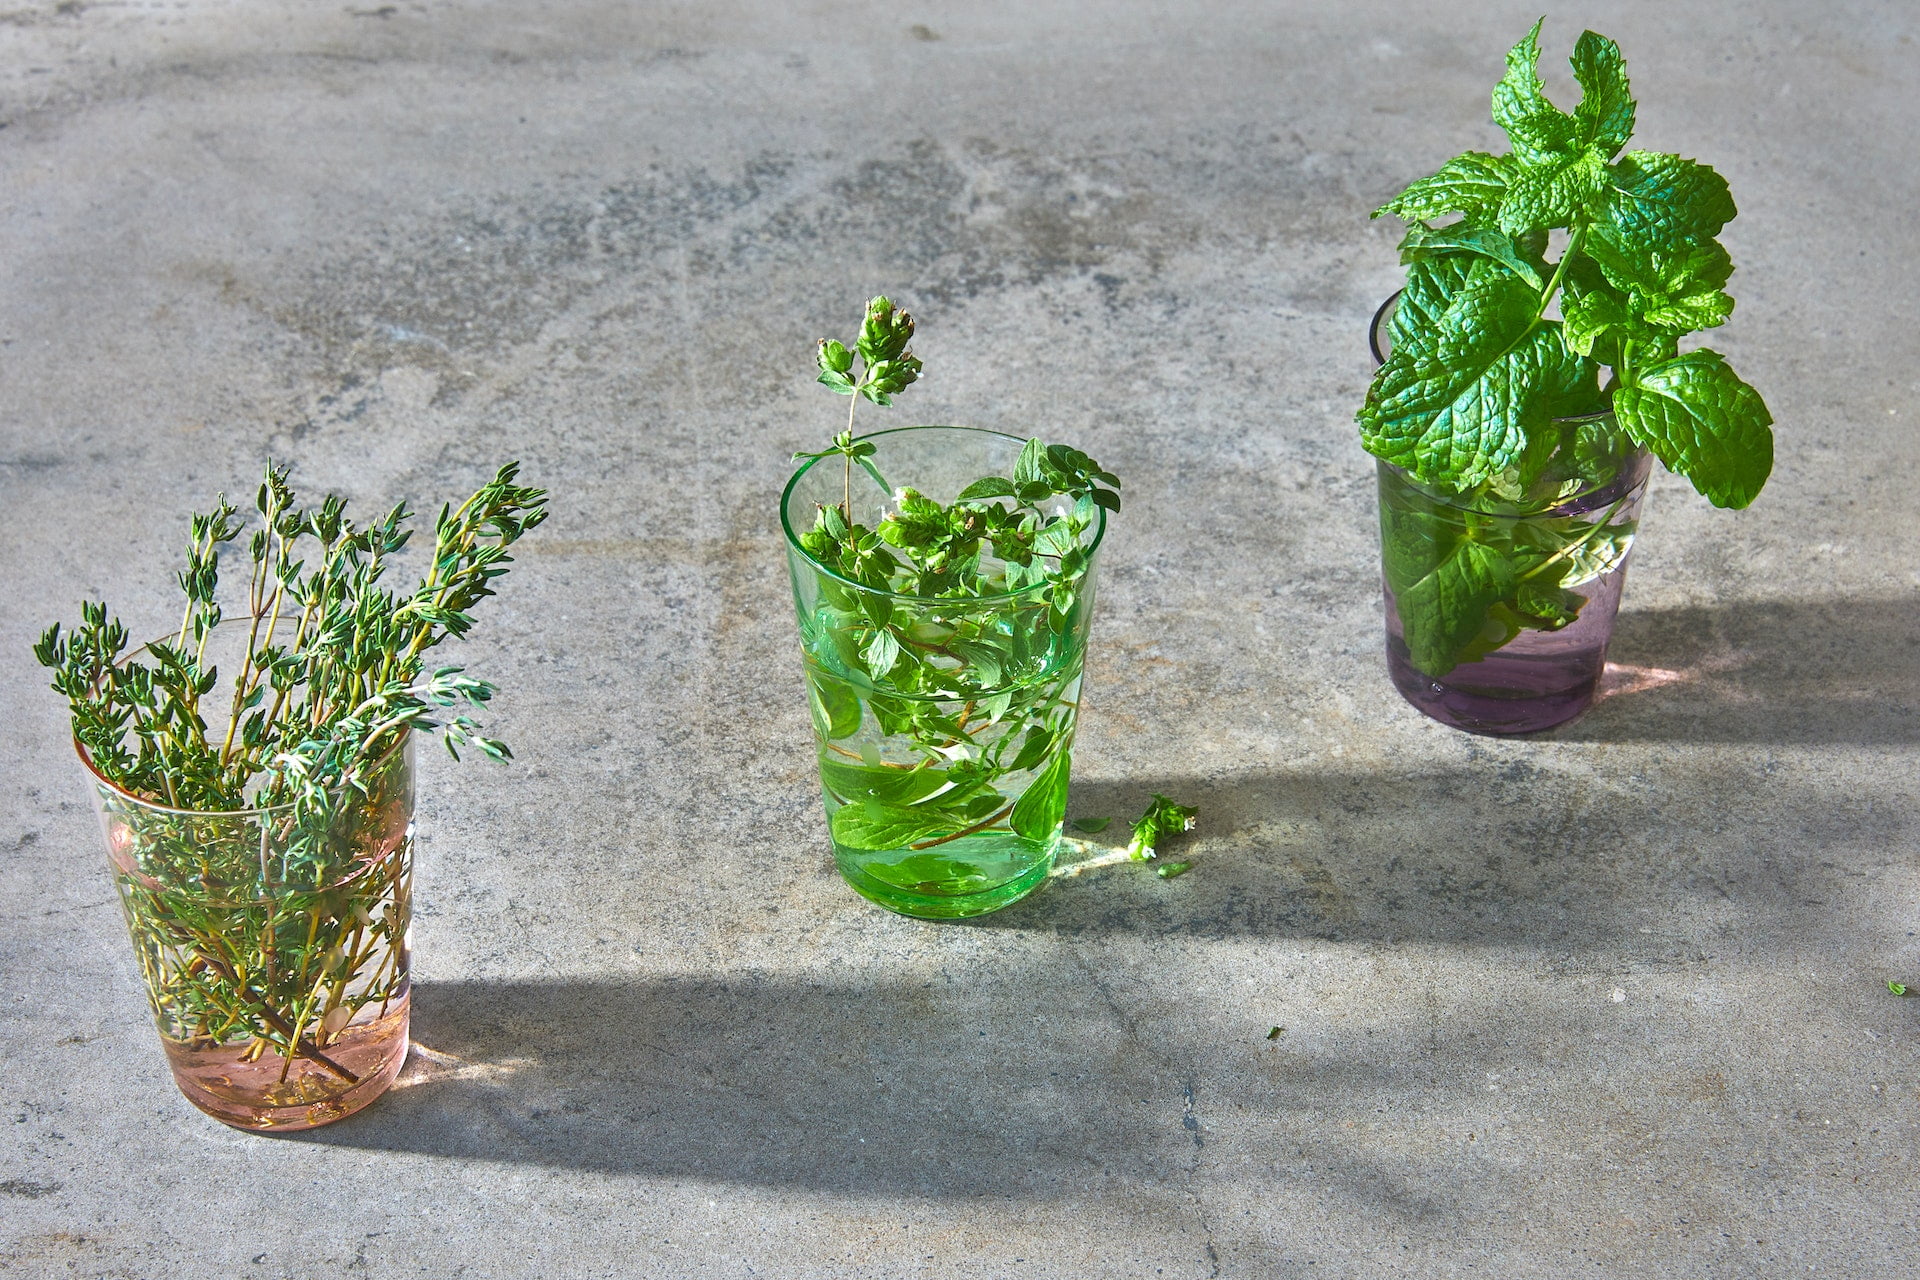
Growing thyme from cuttings is a simple and effective way to propagate new plants. Follow these steps to successfully grow thyme from cuttings:
Select a healthy thyme plant:
Choose a mature thyme plant that is free from diseases and pests. This will ensure that your new cuttings have the best chance of success.
Prepare the cuttings:
Using a clean and sharp pair of scissors or pruning shears, cut a 3-4 inch stem from the thyme plant. Make the cut just below a leaf node, which is where the leaves attach to the stem.
Remove lower leaves:
Strip off the leaves from the lower half of the cutting. This will prevent the leaves from rotting when placed in the growing medium.
Dip in rooting hormone (optional):
Although not necessary, dipping the cut end of the thyme cutting in a rooting hormone can help stimulate root growth and increase success rates.
Plant the cuttings:
Fill a small pot or tray with a well-draining potting mix. Create small holes in the soil using a pencil or your finger and insert the cuttings, burying them about an inch deep.
Water thoroughly:
After planting the cuttings, water the soil thoroughly to settle it around the stems. Ensure that excess water drains away to prevent waterlogging.
Provide the right conditions:
Place the pot or tray in a warm and bright location with indirect sunlight. Avoid placing it in direct sunlight, as it can cause excessive drying or scorching of the cuttings.
Mist the cuttings:
To maintain humidity around the cuttings, mist them with water daily or cover them with a plastic dome or a clear plastic bag.
Monitor and care for the cuttings:
Keep an eye on the moisture level of the soil, ensuring it remains moist but not waterlogged. Check for signs of new growth, indicating that the cuttings have successfully rooted. Remove any yellowing or rotting leaves promptly.
Transplanting:
Once the cuttings have developed a strong root system, which usually takes 4-6 weeks, they can be transplanted into individual pots or larger containers for further growth.
People also want to know
-
Can I grow thyme in my room?
Yes, you can grow thyme in your room as long as it receives enough sunlight. Thyme loves sunlight, so try to place your pots near a window where it can get at least six hours of direct sunlight each day. If sunlight is limited, you can use a grow light to provide the necessary light for your thyme plant.
-
How often should I water my thyme plant?
Thyme prefers slightly dry conditions, so it’s important not to overwater it. Allow the top inch of soil to dry out between waterings. Check the soil by touching it with your finger. If it feels dry, it’s time to water your thyme. Make sure to water the soil thoroughly, but avoid saturating it. Water should reach the root zone of the plant.
-
Can I use regular dirt from outside?
It’s best to use a well-draining potting mix instead of regular dirt from the outside. Regular dirt may not provide the proper drainage that thyme needs to thrive. Prepare a soil mix by combining equal parts potting soil, perlite (tiny white balls), and sand. This mixture will create a light and airy soil that promotes healthy root growth.
-
Can I grow different kinds of thyme together?
Yes, you can grow different varieties of thyme together in the same pot. It can create a beautiful mix of colors, textures, and aromas. Just make sure that the varieties you choose have similar growth habits and requirements. This way, they can coexist harmoniously in the same container and you can enjoy a variety of thyme flavors.
-
How long does it take for thyme to grow from a seed?
Thyme seeds typically take around 14 to 21 days to germinate, but it can vary depending on the conditions. After germination, thyme plants will continue to grow slowly. It may take several months for the plant to reach a harvestable size. If you want faster results, you can also start with young thyme plants from a nursery or propagate thyme from cuttings for quicker growth.
Final words on Growing Thyme in Pots or Containers
We conclude, growing thyme in pots or containers is a rewarding and practical choice for herb enthusiasts. By following the 12 tips provided, including selecting the right container, providing proper sunlight and watering, and pruning regularly, you can successfully cultivate healthy thyme plants. Enjoy the aromatic flavors and medicinal benefits of this versatile herb year-round, and elevate your culinary creations with the freshness of homegrown thyme.

