Beautiful Plants For Your Interior
Best Tips for Growing Violets in Containers
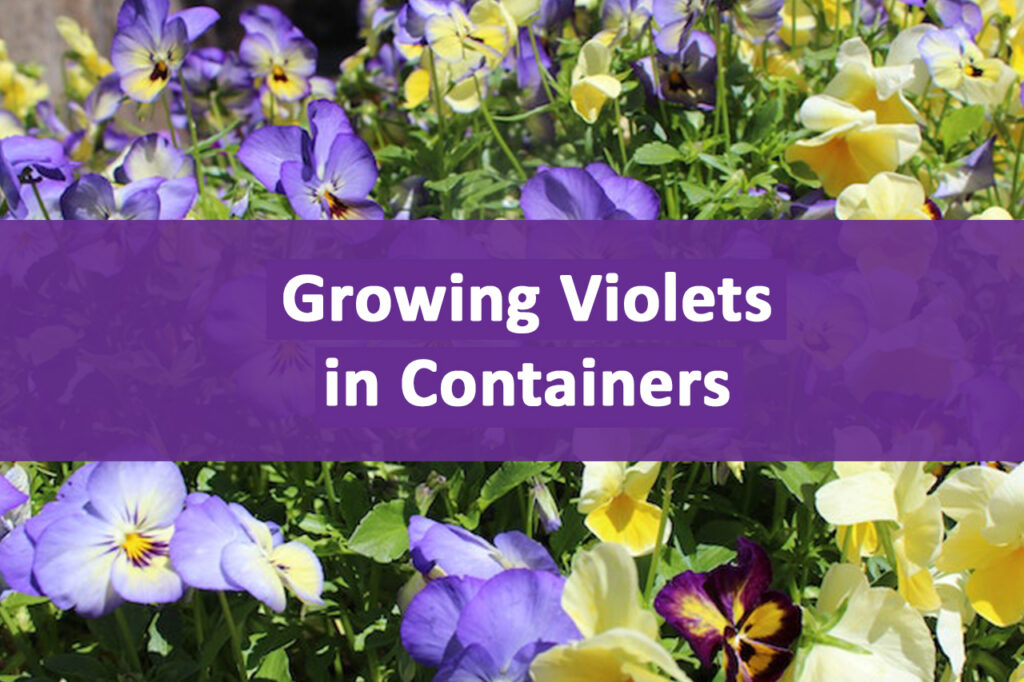
You’ve come to the correct spot if you’re searching to grow violets in containers and spruce up your indoor or outdoor environment with color and charm. You will find all the knowledge you want in this detailed guide to successfully grow violets in pots.
This article will provide you with the information and skills necessary to establish a successful violet garden, from choosing the ideal container and soil to giving the best care and resolving frequent issues.
Let’s Know Violets First
Violets are small, delicate flowering plants that belong to the genus Viola. They are known for their beautiful and colorful flowers, which come in a variety of shades, including purple, blue, yellow, white, and even multicolored varieties. Violets are popular ornamental plants and are cultivated for their aesthetic appeal.
These plants typically have heart-shaped leaves that grow in a rosette pattern. Violets produce flowers with five petals that can be either single or double, depending on the variety. The flowers often have distinct patterns or markings on their petals, adding to their visual appeal.
Violets are versatile plants that can be grown both indoors and outdoors, depending on the species and local climate. They are often used in gardens, borders, and containers, and can also be used as ground cover in shaded areas. Violets are known for their pleasant fragrance, which adds to their overall charm.
Why Grow Violet in a Container?
The practice of growing violets in containers has various advantages and benefits. Here are some benefits of using violets in container gardening:
a) Limited Space: Containers provide a convenient solution for those with limited gardening space. Whether you live in an apartment with a small balcony or have a compact outdoor area, growing violets in containers allows you to enjoy gardening and add beauty to your space without the need for a large garden plot.
b) Flexibility: Container gardening offers flexibility in terms of placement and mobility. You can easily move the containers around to optimize sunlight exposure or protect the violets from extreme weather conditions. This flexibility also allows you to bring your violets indoors during unfavorable weather or for year-round enjoyment.
c) Improved Soil Control: By growing violets in containers, you have complete control over the soil quality. This is especially beneficial if your garden soil is not well-suited for violets or if you’re dealing with poor drainage. You can select the appropriate potting mix, ensuring optimal moisture retention, nutrient availability, and drainage specifically tailored to the needs of violets.
d) Pest and Disease Management: Container gardening can help minimize the risk of pests and diseases. By keeping your violets in containers, you create a physical barrier that can help prevent certain pests from reaching your plants. Additionally, it becomes easier to monitor your violets for signs of pests or diseases, allowing for early detection and prompt action.
e) Extend the Growing Season: Containers can be moved indoors during colder months, allowing you to extend the growing season for violets. By providing a controlled environment, you can protect your violets from frost and continue enjoying their beauty and blooms even when outdoor conditions are less favorable.
f) Design and Aesthetic Appeal: Growing violets in containers add a decorative element to your space. You can choose from a variety of container styles, sizes, and colors to complement your overall garden design or interior decor. Violets’ vibrant blooms and lush foliage can serve as eye-catching focal points or accents, enhancing the visual appeal of your home or garden.
How to Grow Violets in Containers
Growing violets in containers is a delightful way to add color and charm to your indoor or outdoor space. Whether you’re a seasoned gardener or a beginner, this comprehensive guide will provide you with all the information you need to successfully cultivate violets in containers.
Choosing the Right Container
Selecting the appropriate container is crucial for the health and growth of your violets. In this section, we will discuss the key factors to consider when choosing a container, including size, material, and drainage. We will also explore various container options and provide recommendations to help you make an informed decision.
Preparing the Soil
The quality of the soil plays a vital role in the success of your violet garden. This section will outline the ideal soil composition for violets and guide you through the steps of preparing the soil mix. We will discuss the importance of moisture retention, drainage, and nutrient availability to ensure your violets receive the necessary foundation for healthy growth.
Planting Violets in Containers
Proper planting techniques are essential to give your violets a strong start. In this section, we will cover the step-by-step process of planting violets in containers, including handling the plants, transplanting, and ensuring appropriate spacing. We will also provide insights into optimal planting times and techniques to encourage healthy root development.
Watering and Fertilizing
Watering and fertilizing are critical aspects of violet care. In this section, we will delve into the proper watering techniques for container-grown violets, emphasizing the importance of maintaining appropriate moisture levels. We will also discuss fertilization schedules, suitable fertilizers, and the signs of nutrient deficiencies to help you keep your violets well-nourished.
Sunlight and Temperature Requirements
Understanding the sunlight and temperature requirements of violets is crucial for their growth and bloom. In this section, we will discuss the ideal light conditions and temperature ranges for violets in containers. We will also provide guidance on protecting your violets from extreme temperatures and optimizing their exposure to natural light.
Common Pests and Diseases
Like any plant, violets are susceptible to pests and diseases. In this section, we will highlight the common pests and diseases that may affect your violets and provide effective methods for prevention and control. We will also offer natural remedies and tips to maintain a pest-free environment for your violet garden.
Pruning and Deadheading
Pruning and deadheading are essential practices for maintaining the health and appearance of your violets. This section will explain the benefits of pruning and deadheading, along with the proper techniques to employ. We will also discuss the best time for these activities and the potential impact on blooming.
Overwintering
Overwintering your violets is crucial, especially if you live in a cold climate. In this section, we will provide guidance on preparing your violets for winter, including adjusting watering and fertilization, protecting them from frost, and selecting suitable indoor locations. We will also offer tips on monitoring their health during the winter months.
How to Care for Violas in Pots
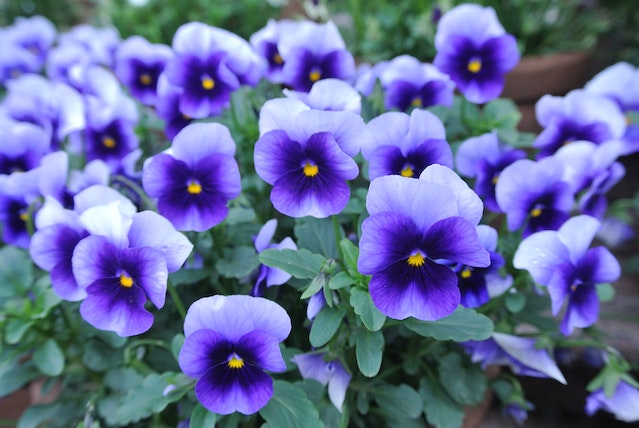
Caring for violas in pots is relatively straightforward, and with proper attention, you can ensure their health and longevity. Here are some essential care tips for violas in pots:
a) Container Selection: Choose a pot that is at least 6-8 inches deep with drainage holes at the bottom. This will allow excess water to drain out, preventing waterlogged soil and root rot.
b) Soil Preparation: Use a well-draining potting mix specifically formulated for container gardening. You can also add organic matter, such as compost or aged manure, to improve soil fertility and drainage.
c) Watering: Keep the soil evenly moist, but avoid overwatering. Check the moisture level regularly by sticking your finger about an inch into the soil. If it feels dry, it’s time to water. Water the violas at the base of the plant to avoid wetting the leaves, which can encourage fungal diseases.
d) Sunlight Requirements: Violas thrive in partial shade to full sun, depending on your climate. Provide them with 4-6 hours of direct sunlight per day for optimal growth and blooming. In hot regions, provide some afternoon shade to protect them from intense heat.
e) Fertilization: Feed your potted violas with a balanced, slow-release fertilizer or a liquid fertilizer diluted according to the package instructions. Apply the fertilizer every 4-6 weeks during the growing season to promote healthy growth and abundant flowering.
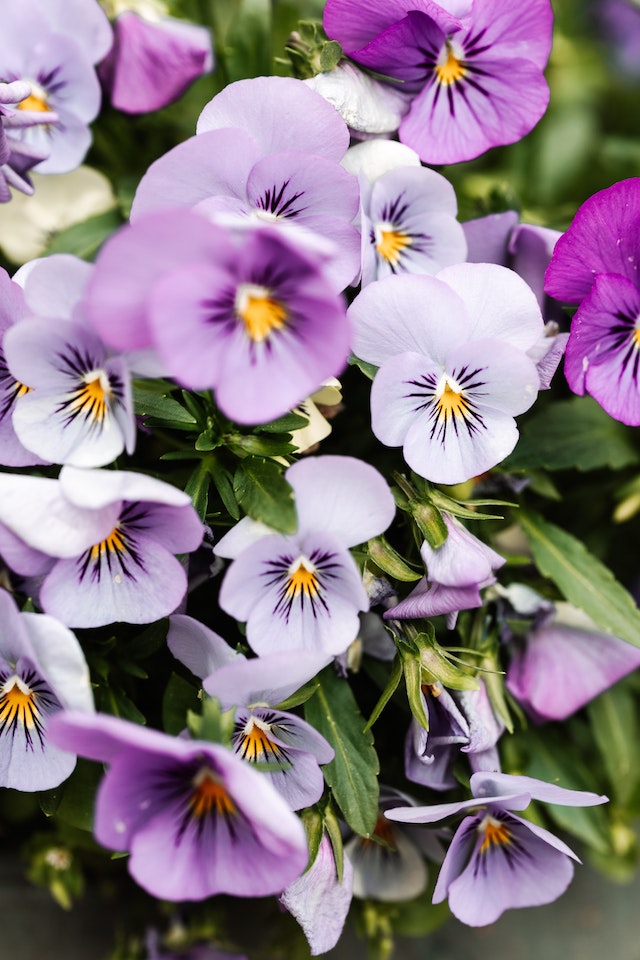
f) Deadheading: Regularly remove faded or spent flowers by pinching or snipping them off. Deadheading not only keeps the plant tidy but also encourages continuous blooming.
g) Pests and Diseases: Keep an eye out for common pests such as aphids, slugs, and snails. If necessary, use organic pest control methods or insecticidal soaps to manage infestations. Proper spacing between plants and good air circulation can help prevent fungal diseases.
h) Pruning: Trim back any leggy or overgrown stems to promote compact and bushy growth. Pruning can also help rejuvenate the plant and encourage new blooms.
i) Winter Care: In colder regions, violas may not survive harsh winters. Before the first frost, consider bringing potted violas indoors or providing protection with a frost cover. Place them in a cool, well-lit area, such as a bright windowsill, and reduce watering during their dormant period.
j) Regular Monitoring: Regularly inspect your potted violas for signs of stress, pests, or diseases. Promptly address any issues that arise to ensure the continued health and vitality of your plants.
How to Grow Violets From Seed
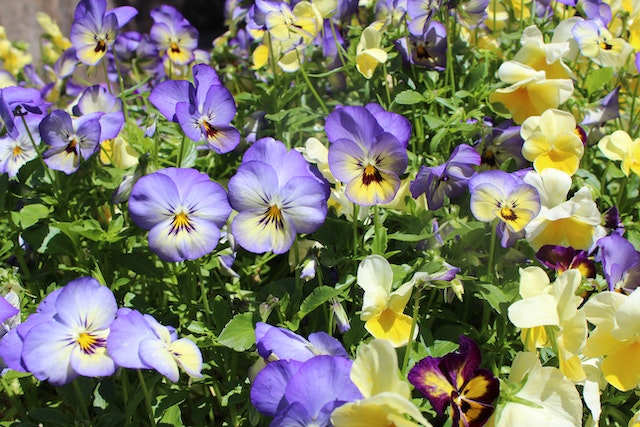
Growing violets from seeds can be a rewarding experience. Here is a step-by-step guide on how to grow violets from seed:
a) Seed Selection: Choose high-quality violet seeds from a reputable source. Consider selecting a variety that suits your preferences in terms of color, size, and growth habits.
b) Preparing the Seed Tray or Pots: Fill a seed tray or small pots with a well-draining seed starting mix. Moisten the soil lightly to ensure it is evenly damp but not waterlogged.
c) Sowing the Seeds: Sprinkle the violet seeds evenly on the surface of the soil. Violet seeds are tiny, so you can use a small spoon or your fingertips to distribute them. Avoid covering the seeds with soil, as they require light to germinate.
d) Providing Optimal Conditions: Place the seed tray or pots in a warm location with indirect sunlight. Maintain a consistent temperature of around 70°F (21°C) for optimal germination. Using a plastic cover or a clear plastic bag can help create a humid environment.
e) Watering: Keep the soil consistently moist but not waterlogged. Use a spray bottle or a misting attachment to water gently, ensuring the seeds and soil remain damp. Avoid overwatering, as it can lead to damping-off disease.
f) Germination: Violet seeds typically germinate within 10-20 days, but some varieties may take longer. Be patient and continue to provide the ideal growing conditions.
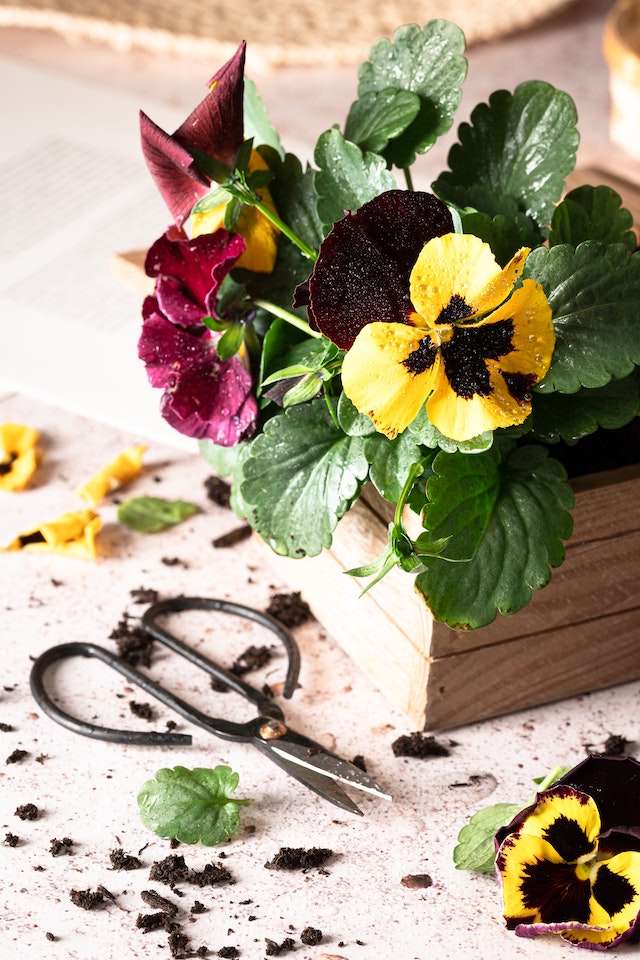
g) Transplanting: Once the violet seedlings have developed their first set of true leaves and are sturdy enough to handle, they can be transplanted into individual pots. Fill the pots with a well-draining potting mix and make a small hole to accommodate the seedling’s root system. Carefully transfer the seedlings, ensuring that the roots are covered with soil.
h) Providing Adequate Light: Place the potted seedlings in a location that receives bright, indirect sunlight or under grow lights. Aim for 12-16 hours of light per day to promote healthy growth.
i) Regular Care: Water the seedlings as needed to keep the soil evenly moist. Avoid overwatering, which can lead to root rot. Fertilize the seedlings with a diluted, balanced liquid fertilizer once they have established a few sets of true leaves.
j) Hardening Off and Outdoor Planting: After the danger of frost has passed and the seedlings have grown stronger, gradually acclimate them to outdoor conditions by placing them in a sheltered area for a few hours each day. Gradually increase the time outdoors over a week or two. Once hardened off, you can transplant the violets into your garden beds or larger outdoor containers.
People also ask
-
Can I grow violets in any type of container?
Yes, you can grow violets in various types of containers, including clay pots, plastic containers, hanging baskets, or decorative planters. Just ensure that the container has drainage holes to prevent waterlogging.
-
What type of soil should I use for growing violets in containers?
Violets prefer a well-draining soil mix. Use a commercial potting mix specifically formulated for container gardening or create a mix with equal parts peat moss, perlite, and vermiculite.
-
How often should I water my violets in containers?
Water your violets when the top inch of the soil feels dry. Provide enough water to thoroughly moisten the soil, but avoid overwatering, as it can lead to root rot. Ensure that excess water can drain out of the container.
-
How much sunlight do violets in containers need?
Violets thrive in partial shade to full sun, depending on your climate. Provide them with 4-6 hours of direct sunlight per day. In hotter regions, provide some afternoon shade to prevent heat stress.
-
Do I need to fertilize my violets in containers?
Yes, regular fertilization is beneficial for healthy growth and blooming. Use a balanced, water-soluble fertilizer specifically formulated for flowering plants. Follow the instructions on the package for application rates and frequency.
-
Can violets grown in containers be kept indoors?
Yes, violets can be kept indoors as long as they receive adequate sunlight or artificial light. Place them near a window that receives bright, indirect light, or use grow lights to supplement their light requirements.
-
How do I prevent pests and diseases in container-grown violets?
Ensure good air circulation around the plants and monitor them regularly for signs of pests or diseases. Remove any affected leaves promptly and consider using organic pest control methods if necessary.
-
Should I prune my violets in containers?
Yes, pruning is beneficial for maintaining the health and appearance of your violets. Remove any leggy or overgrown stems and pinch off faded flowers to promote bushier growth and continuous blooming.
-
Can violets in containers survive winter?
Violets are typically hardy but may not withstand harsh winter conditions. In colder regions, consider bringing the containers indoors or providing protection with a frost cover. Reduce watering and monitor their health during the dormant period.
-
How do I propagate violets in containers?
Violets can be propagated by division or through leaf cuttings. Divide overcrowded plants every couple of years and replant the divisions in separate containers. For leaf cuttings, select healthy leaves and place them in moist soil until they develop roots.
Wrap up On Growing Violets in Containers
If you’re looking to bring the beauty of violets into your living spaces, growing violets in containers is a perfect solution. With proper care and attention, you can successfully grow violets in containers and enjoy their vibrant blooms and delightful fragrance right at your doorstep.


